Worst case scenario,
you can buy the entire line from the firewall union to the rear connection point for the axle.
Steel

 www.sstubes.com
Stainless here
 www.sstubes.com
you can buy the entire line from the firewall union to the rear connection point for the axle.
Steel
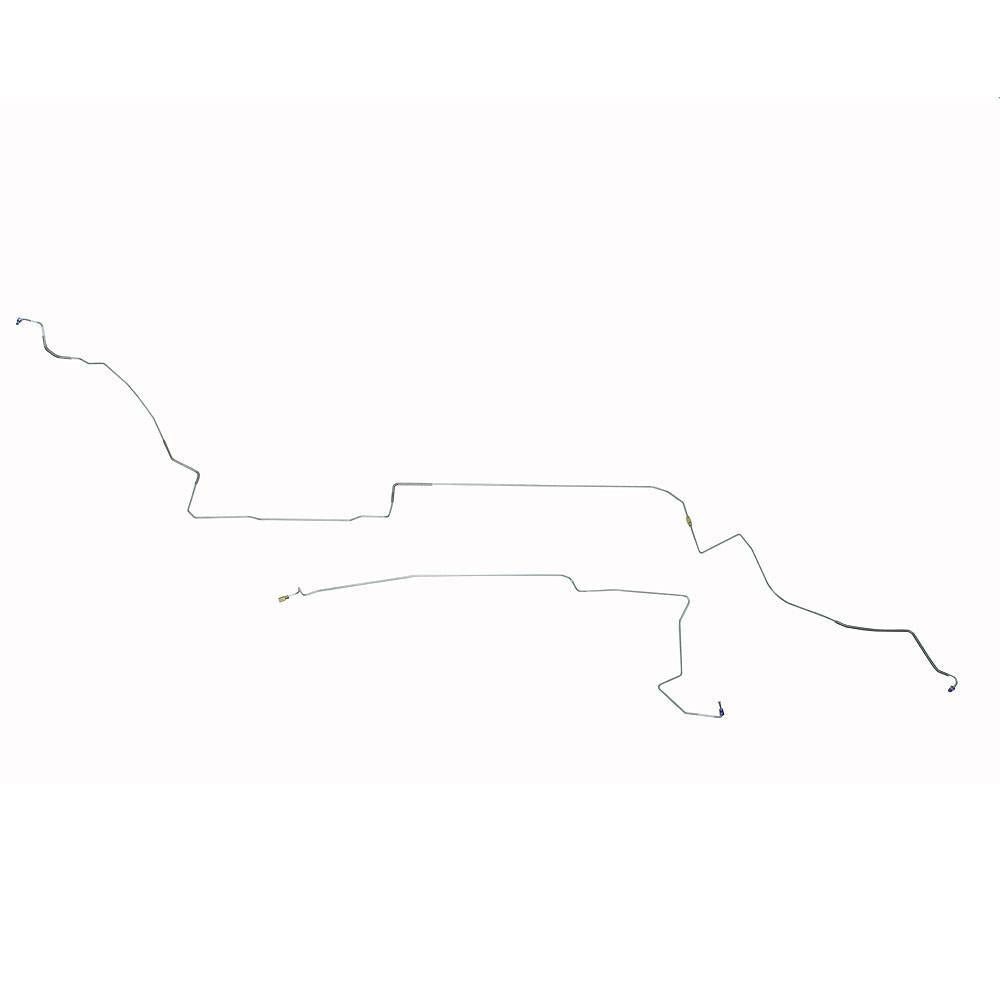
ZIN8701OM- 87-93 Ford Mustang Intermediate Brake Line; w/ Sub-Frame Connectors; Steel
Intermediate Brake Line For 87-93 Ford Mustang w/ Sub-Frame Connectors Steel. Our Intermediate Brake Lines are the lines running from the front of the car to the back feeding your rear brakes. These lines will run along your chassis all the way back to the rear brake drop hose. All lines come...
www.sstubes.com
Stainless here
ZIN8701SS- 87-93 Ford Mustang Intermediate Brake Line; w/ Sub-Frame Connectors; Stainless
Intermediate Brake Line For 87-93 Ford Mustang w/ Sub-Frame Connectors Stainless. Our Intermediate Brake Lines are the lines running from the front of the car to the back feeding your rear brakes. These lines will run along your chassis all the way back to the rear brake drop hose. All lines...
www.sstubes.com