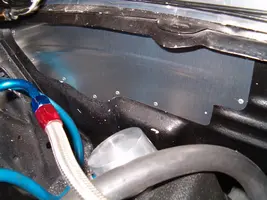
Progress Thread My Kenne Bell Twin Screw'd Foxbody thread, (new addition to the family)

I would weld in a 1 piece firewall plate like the one Scott Rod sells with everything out of the car. So much easier than after the dash is in. Plus you don't risk the chance of sparks setting your nice interior on fire.
 
I think what you're talking about only goes above the seam on the firewall, the AC line hole is below it. Unless there's another panel I don't know about. My interior is removed except the dash and steering column.
 
They sell this as well. For 20 bucks it beats trying to fab up one.

http://scottrodfab.com/foxmustang.html


19.webp
 

Attachments

  • 19.webp
    19.webp
    106.7 KB · Views: 297
I think it blocks the heater hoses too. I'll try to fab something up that will look good while not melting my dash. Don't feel like pulling the dash yet.

On another note, is it true that all dash's are black underneath? I have a blue one in now, if I was to strip the color off would it be black? Would it be nice and worth it?
 
Damn air compressor took took a dump on me! Frikin Husky POS. O'well, been dreaming about running 240v out to my garage and getting a 15hp fixed mount compressor that puts out around 15-18 cfm and is much more quiet too. Time for a dream to come true!
 
Some over time for work is done. It's 80 degrees and sunny, my son is playing at a friends, twin girls sleeping, I'm in the garage smoking a cigar, having a drink and working on the 5.0......Doesn't get much better. Hope everyone else is having a good weekend! I am. Cheers!
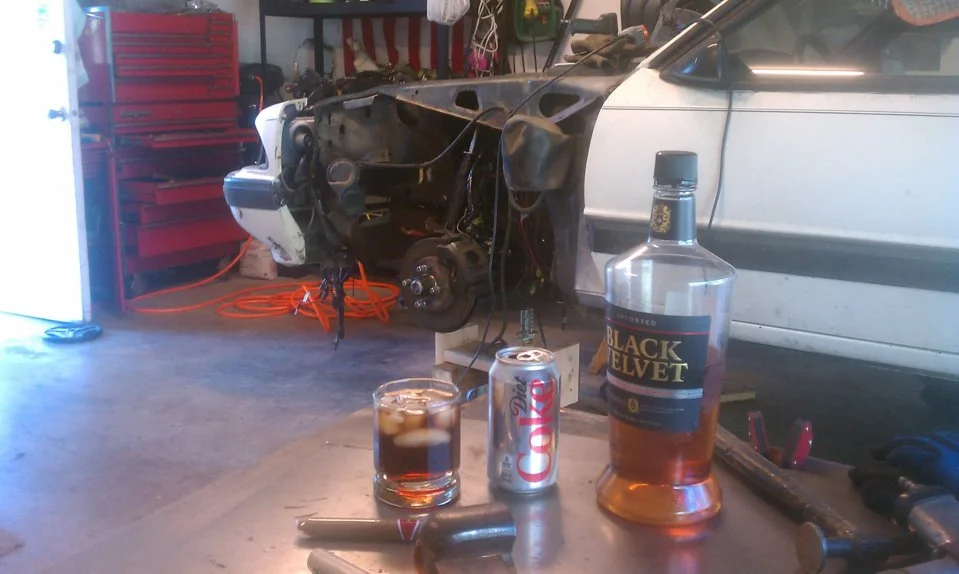
IMAG2668.webp

Ah yes, alcohol, a cigar, and a welder. Nothing to see here folks.

lol
 
It was an awesome Labor day weekend and I hope you all had likewise! Got lots of work done this weekend on the engine bay plus numerous other things not related to the Coupe.

First off I'd like to say Evercoat Metal2Metal is bad ass! Really strong and sands easy. Pricey but worth it in my opinion.

What I did.
1) Blow out area really well with compressed air blow gun
2) Wash down engine bay with warm water and mild dish soap (dawn non scented). Let dry thoroughly.
3) Wax and grease remover. I prefer putting the W&G remover in clean spray bottle, spray area and wipe away with clean lint free shop towel before it dries. Discard towel and use clean one each time. If you keep "cleaning" with a dirty towel then you're not really cleaning are you?
4) Sand your work area
5) Blow everything clean with compressed air gun
6) Apply Evercoat Metal2Metal per mf'r recommendations.
7) After recommended dry time, sand.
8) Blow area off again, apply body filler (bondo)

This is as far as I've gotten over the weekend.

IMAG2690.webp
IMAG2691.webp
IMAG2692.webp


Hopefully tonight I will get the Bondo sanded down, scuff everything up with a red pad and be ready to shoot my primer. My self-etch primer had been sitting for almost a year so I brought it to work today and stuck it in our paint shaker a couple times. Good to go now!!! Hopefully be shooting color this weekend!!!
 
Finally got to spray this weekend. Got a couple coats of etch primer laid down. I'm upset with myself for forgetting to get some thinner while I was at the autobody supply store. I ran out and wasn't able to clean my gun all that well and I kept me from spraying my 2k primer. Temps are about to cool down so progress will stop till later this next week.

100_1495.webp
 
  • Like
Reactions: FoxtrotTangoWhiskey
So are you still glad you did it this way over buying the prefab panels?

If I had to do it all over again I'd get the SR panels. I love the way mine came out, the work wasn't really all that bad but I like the look of the panels that follow the original engine bay lines a little better. They open up the engine bay more too.