Brakes Brake fluid change

JD1964

there is enough sticking out to grab on to
15 Year Member
Jun 28, 2013
3,084
1,382
194
Maryland
I’m getting into a brake fluid change on my 92 LX. The picture shows I have the master cylinder cap off and you see the float in there. Can I just reach down in there with needle nose and pull that float out? The reason I want to do that is I want to start by siphoning out as much of the old fluid from the reservoir as I can. Right now the float is just sort of in the way. Will it just lift up out of there? Thanks.

IMG_2717.jpeg
 
  • Sponsors (?)


Not that I know of and I am pretty sure that is the float for the low brake fluid switch. Just go back to the passenger rear brake and crack it open (with a catch can) and gravity drain it. When the level in the reservoir get fairly low (DO NOT run it dry or you will have to bleed the master cylinder and that is not fun) and start adding fluid slowly and continue to do so until you feel you have the majority of the old fluid out. After that fill it up and get to the back of the car and close that bleeder. Fill the reservoir back up and then proceed to bleed all the brakes (Starting with the RR then LR then RF and finish up with the LF) and then top off with fresh fluid. Most of the contaminated fluid will be in the calipers and wheel cylinders as that is where all the heat is.

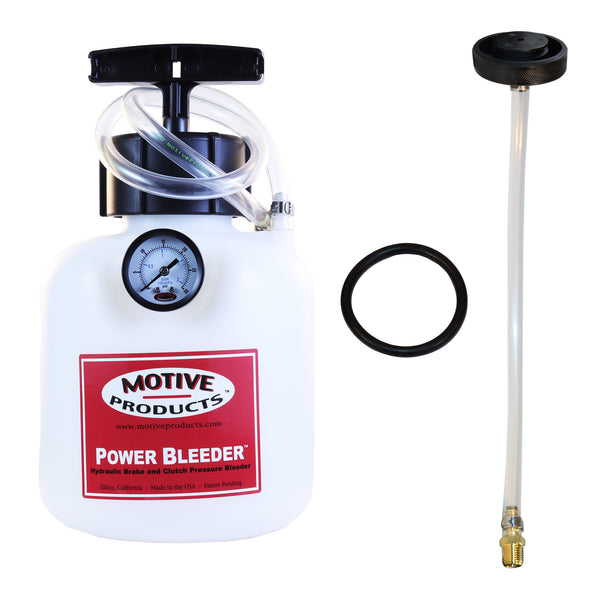
I will say that this is very handy for cycling out the brake fluid and not having to worry about any old fluid being left in the system:


Does not help you now but something to think about for future work.
 
  • Like
Reactions: 1 user
No, removing it will result in you having to replace the reservoir and not having a good time.

To ensure you don’t have a bad time, push it down and turkey baste out what you can.
 
  • Useful
Reactions: 1 user
Why does removing it result in the need to replace the resivoir?

I saw what was keeping it from coming up and out. It is two tiny ridges in the filler throat. I carefully trimmed and removed them. I cut them with a razor knife but not entirely. I left them attached by a tiny portion. I then plucked them out with needle nose pliers and the float lifted right out. The float will still function because it will sink when fluid level goes down and if the level gets low enough the magnet in the bottom of the float will trigger the switch. With the float out of the way a turkey baster got most of the old fluid out as a starting point.

IMG_2721.jpeg


IMG_2720.jpeg


IMG_2719.jpeg
 
Incidentally due to non related stress I couldn’t sleep well last night so I got up at 4am and completed the fluid swap. My method includes a spare cap in which I installed a fitting to connect a hose. I then use a blow nozzle running the compressor air through a pressure regulator. Between 5 and 10 psi works plenty good. I use a plastic clamp to hold the blow nozzle trigger down. It’s really nice to see all the cruddy fluid eventually run clear.


IMG_2718.jpeg


IMG_2723.jpeg


IMG_2724.jpeg
 
Btw, using air to push the fluid through makes it a much quicker process compared to gravity bleeding. I completed the entire process on my own running almost two full quarts of new fluid through. The entire process was about 90 minutes.
 
If you put a tube into a bottle and let them gravity bleed, no air should really get in there if you don't let the reservoir run low.

There are also other methods and tools that can be had cheap (homeowner use quality) that make it easier.

My saleen explorer had 4 piston alcon brakes with speed bleeders, i thought that were pretty awesome and when i do my 4 piston upgrade to the front, they will go on them too. Basically turns the bleeder into a one way valve, fluid can go out, but not in.
 
  • Like
Reactions: 1 user